Upstash Realtime is the easiest way to add realtime features to any Next.js project.
Upstash Realtime

Why Upstash Realtime?

  • ๐Ÿงจ Clean APIs & first-class TypeScript support
  • โšก Extremely fast, zero dependencies, 2.6kB gzipped
  • ๐Ÿ’ป Deploy anywhere: Vercel, Netlify, etc.
  • ๐Ÿ’Ž 100% type-safe with zod 4 or zod mini
  • โฑ๏ธ Built-in message histories
  • ๐Ÿ”Œ Automatic connection management w/ delivery guarantee
  • ๐Ÿ”‹ Built-in middleware and authentication helpers
  • ๐Ÿ“ถ 100% HTTP-based: Redis streams & SSE

Quickstart

1. Installation

npm install @upstash/realtime @upstash/redis zod

2. Configure Upstash Redis

Upstash Realtime is powered by Redis Streams. Grab your credentials from the Upstash Console.
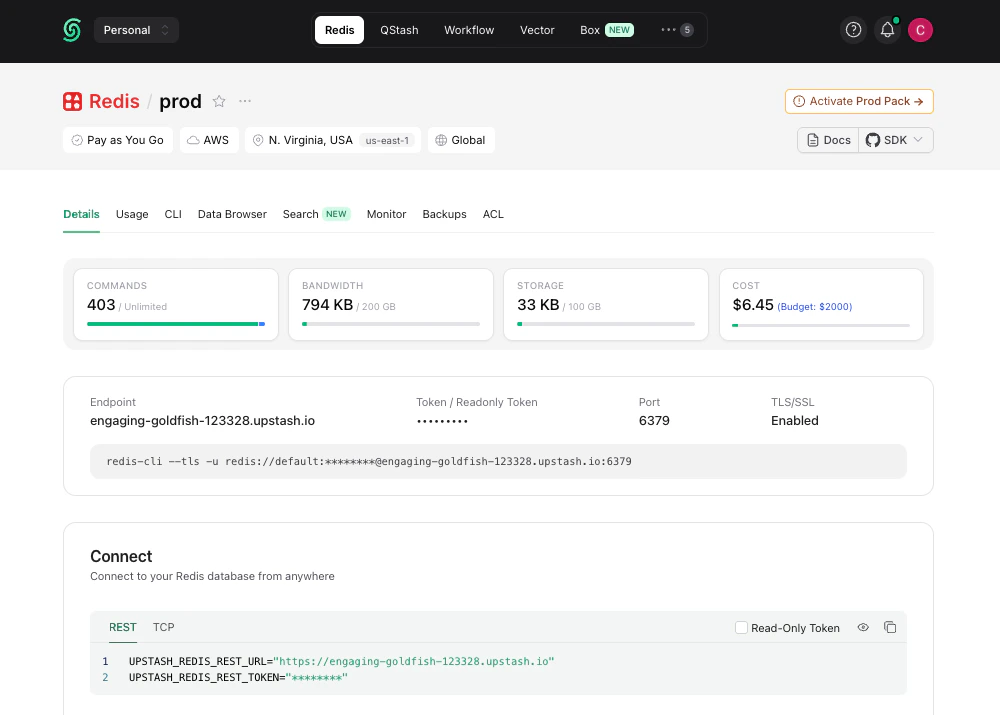
Add them to your environment variables:
.env
UPSTASH_REDIS_REST_URL=https://striking-osprey-20681.upstash.io
UPSTASH_REDIS_REST_TOKEN=AVDJAAIjcDEyZ...
And lastly, create a Redis instance:
lib/redis.ts
import { Redis } from "@upstash/redis"

export const redis = new Redis({
  url: process.env.UPSTASH_REDIS_REST_URL,
  token: process.env.UPSTASH_REDIS_REST_TOKEN,
})

3. Define Event Schema

Define the structure of realtime events in your app:
lib/realtime.ts
import { Realtime, InferRealtimeEvents } from "@upstash/realtime"
import { redis } from "./redis"
import z from "zod/v4"

const schema = {
  notification: {
    alert: z.string(),
  },
}

export const realtime = new Realtime({ schema, redis })
export type RealtimeEvents = InferRealtimeEvents<typeof realtime>

4. Create Realtime Route Handler

Create a route handler at api/realtime/route.ts:
app/api/realtime/route.ts
import { handle } from "@upstash/realtime"
import { realtime } from "@/lib/realtime"

export const GET = handle({ realtime })

5. Add the Provider

Wrap your application in RealtimeProvider:
app/providers.tsx
"use client"

import { RealtimeProvider } from "@upstash/realtime/client"

export function Providers({ children }: { children: React.ReactNode }) {
  return <RealtimeProvider>{children}</RealtimeProvider>
}
app/layout.tsx
import { Providers } from "./providers"

export default function RootLayout({ children }: { children: React.ReactNode }) {
  return (
    <html>
      <body>
        <Providers>{children}</Providers>
      </body>
    </html>
  )
}

6. Create Typed Client Hook

Create a typed useRealtime hook for your client components:
lib/realtime-client.ts
"use client"

import { createRealtime } from "@upstash/realtime/client"
import type { RealtimeEvents } from "./realtime"

export const { useRealtime } = createRealtime<RealtimeEvents>()

7. Emit Events

From any server component, server action, or API route:
app/api/notify/route.ts
import { realtime } from "@/lib/realtime"

export const POST = async () => {
  await realtime.emit("notification.alert", "hello world!")

  return new Response("OK")
}

8. Subscribe to Events

In any client component:
app/components/notifications.tsx
"use client"

import { useRealtime } from "@/lib/realtime-client"

export default function Notifications() {
  useRealtime({
    events: ["notification.alert"],
    onData({ event, data, channel }) {
      console.log(`Received ${event}:`, data)
    },
  })

  return <p>Listening for events...</p>
}
Thatโ€™s it! Your app is now listening for realtime events with full type safety. ๐ŸŽ‰

9. Realtime Dashboard

For debugging or monitoring purposes, you can use Realtime Dashboard in console.
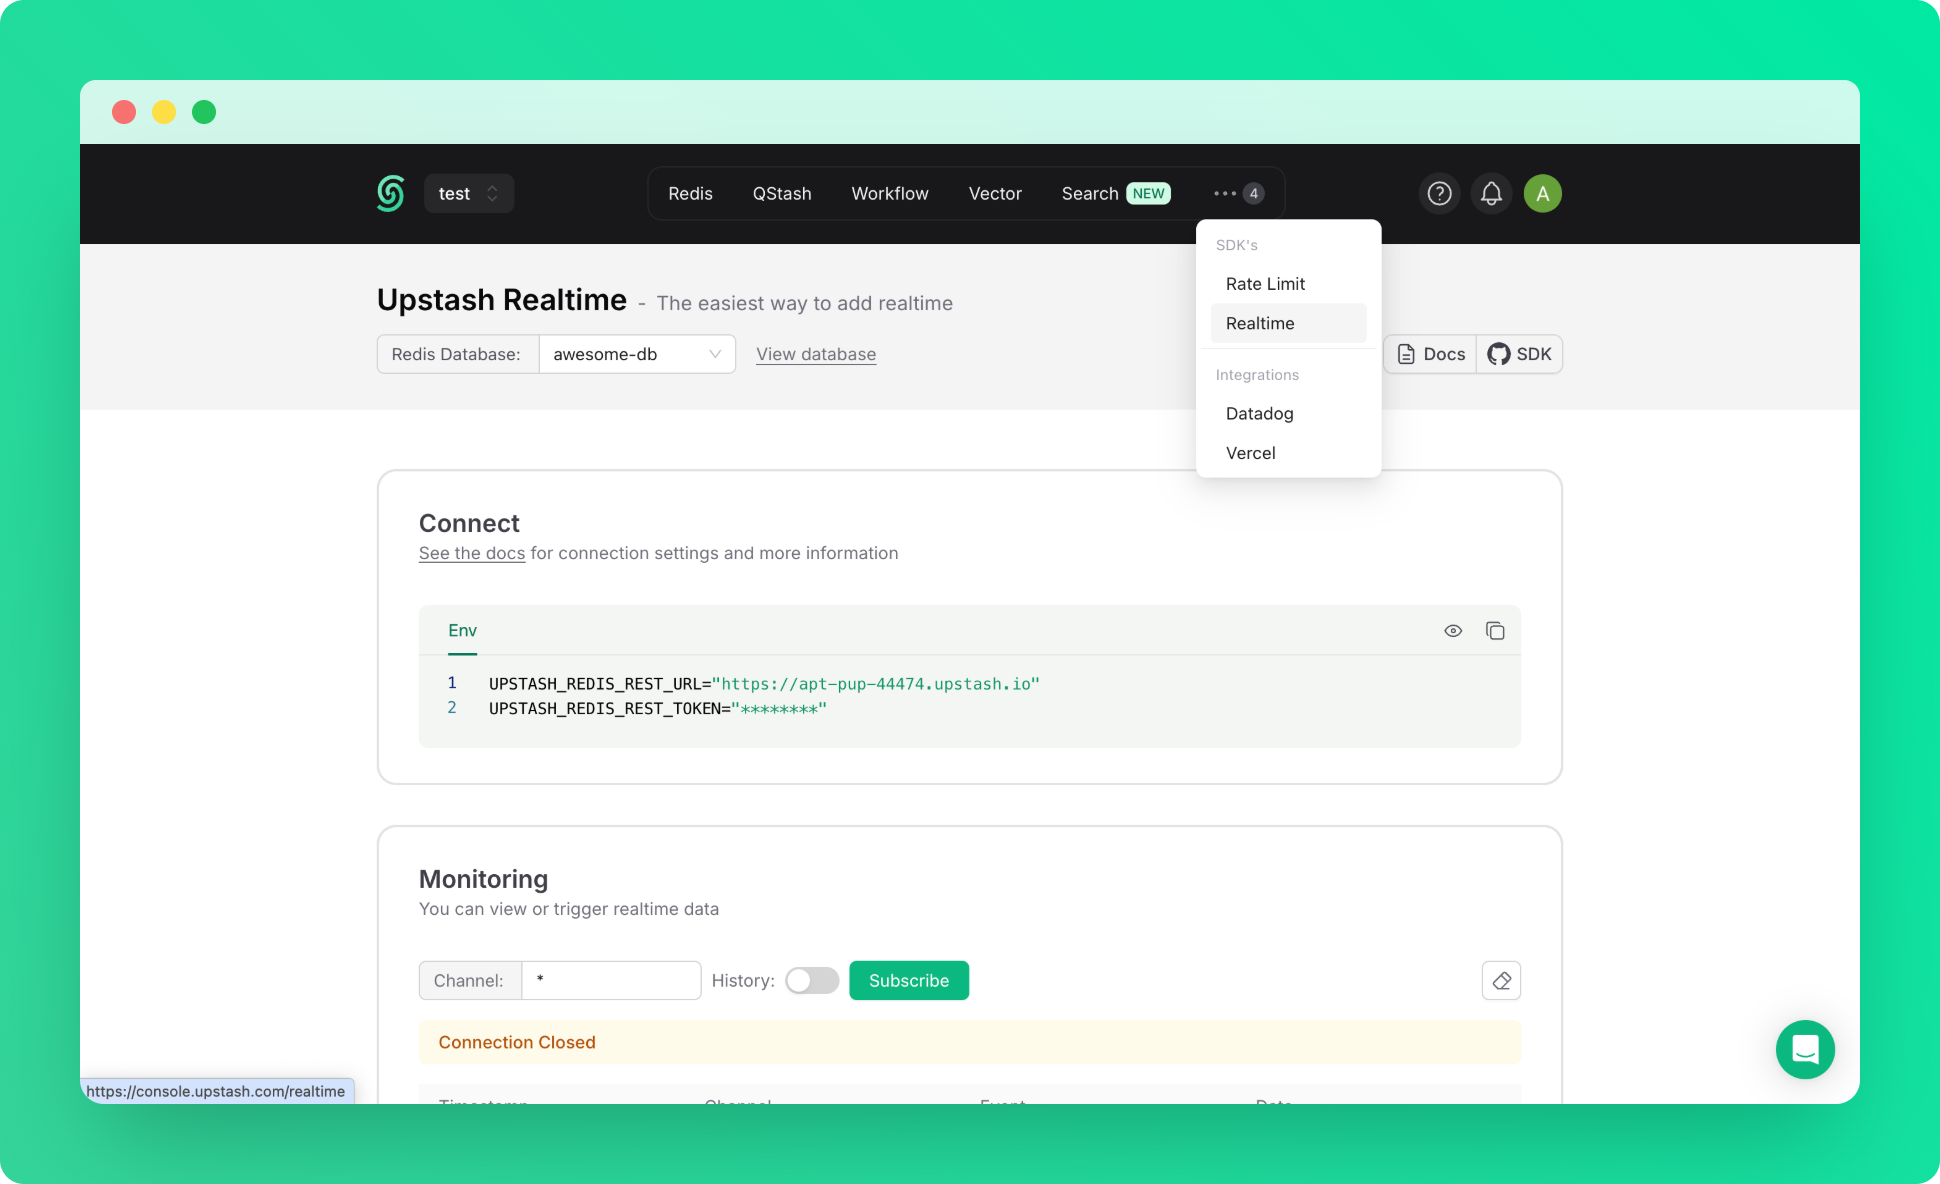
Next Steps

Client-Side Usage

Complete guide to the useRealtime hook

Server-Side Usage

Subscribe to events and stream updates on the server

Channels

Scope events to specific rooms or channels

History

Fetch and replay past messages